As a cyclist, nothing can be more frustrating than being stuck on the side of the road with a flat tire. While many riders have switched to tubeless tires which have fewer punctures, getting a flat tire is still a possibility, and being able to inflate the tire with a hand pump is a valuable skill to have. However, inflating tubeless bike tires with a hand pump is not as simple as it sounds.
It requires some preparation and technique to get the tire to seat properly on the rim and inflate to the correct pressure. In this blog post, we’ll go over the steps you need to follow to inflate tubeless bike tires with a hand pump. We’ll discuss the equipment you need, the technique to use when inflating the tire, and some common problems you may encounter.
By the end of this post, you’ll have a good understanding of how to inflate tubeless bike tires with a hand pump, and you’ll be ready to tackle any flat tire you encounter on your next ride. So, grab your hand pump and let’s dive in!
Table of Contents
Gathering Your Materials
If you’re looking to inflate your tubeless bike tire with a hand pump, the first step is gathering your materials. First and foremost, you’ll need a reliable hand pump that’s capable of reaching the high pressures needed for a road bike tire. Look for a pump with a sturdy construction and an accurate pressure gauge to ensure you can inflate your tire to the correct PSI.
You’ll also need a tubeless tire sealant and a tire lever to help remove and replace the tire. Before inflating, it’s important to make sure the tire is seated properly on the rim to prevent leaks. Give the tire a few firm taps to make sure it’s in place before attaching the pump.
Once everything is set up, start pumping air into the tire in short bursts, checking the pressure gauge periodically to make sure you’re on track. With a little patience and persistence, you’ll have your tubeless bike tire inflated and ready to hit the road in no time.
Checking Your Tire Pressure
When it comes to checking your tire pressure, the process can seem daunting at first, but it’s actually quite simple. Before you begin, make sure you have the right materials on hand. You’ll need a tire pressure gauge, which you can find at any auto parts store or online retailer.
It’s important to make sure the gauge is calibrated properly, so test it against a known accurate gauge before checking your tire pressure. You’ll also need an air pump, which can typically be found at gas stations or purchased for personal use. Finally, you’ll want to have a tire chuck, which attaches to the air pump and allows you to fill the tires accurately.
Once you have all of your materials together, you’ll be ready to start checking your tire pressure and ensuring your vehicle is safe and efficient on the road.

Getting Your Hand Pump Ready
When it comes to preparing your hand pump for use, gathering the necessary materials ahead of time will make the process much smoother. Before getting started, you will need your pump along with any replacement parts that may be required, such as hoses or valves. It is also important to have a clean workspace to avoid any dirt or debris getting into the pump, which could cause damage or reduce efficiency.
Additionally, having a small tool kit on hand can be helpful in case any adjustments need to be made during the process. By having all of these materials ready and easily accessible, you can ensure that your hand pump is working at its best when you need it most. Whether you’re using it for camping or everyday use, taking the time to properly prepare your pump will ensure that it is ready for the task at hand.
Inflating Your Tubeless Bike Tire
So you’ve gone tubeless on your bike and now you need to know how to inflate your tire with a hand pump. It’s not as difficult as you may think. First, make sure your tire is seated on the rim properly.
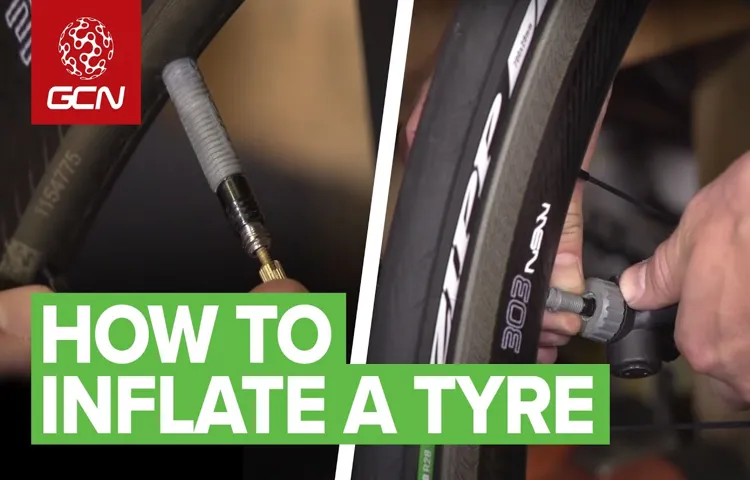
Then, remove the valve core with a valve removal tool or pliers. This will allow more air to flow into the tire. Attach the pump to the valve and begin pumping.
It may take a bit more effort to get the tire fully inflated than it would with a traditional tube, but keep pumping until you reach your desired pressure. Don’t forget to put the valve core back in once you’re finished. And voila, your tubeless tire is ready to hit the road (or trail).
Remember, patience and persistence are key when inflating a tubeless tire by hand pump.
Removing the Valve Core
If you’re looking to inflate your tubeless bike tire, one important step you’ll need to know is how to remove the valve core. The valve core is essential to a tubeless tire setup, as it is the part that allows air to flow into the tire. However, sometimes you’ll need to take it out to either add or remove sealant, or to adjust the tire pressure.
To remove the valve core, you’ll need a valve core tool which is typically included in most tubeless repair kits. Once you have the tool in hand, insert it into the valve stem and turn it counterclockwise until the valve core comes out. To put it back in, simply insert it back into the valve stem and turn it clockwise until it’s secure.
Learning how to remove and replace the valve core is a crucial skill for any tubeless tire setup. This can help you maintain your bike’s tire pressure, prevent punctures, and ensure optimal performance on the road or trail.
Attaching Your Hand Pump to the Valve
In order to inflate your tubeless bike tire, the first step is attaching your hand pump to the valve. This may seem like a simple task, but it’s important to ensure a tight and secure fit. First, remove the valve cap and unscrew the valve nut.
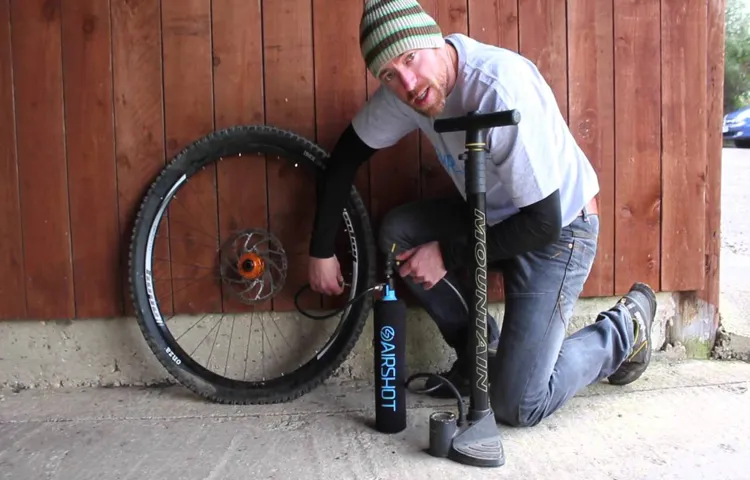
Then, press the pump head onto the valve and use your other hand to firmly hold it in place. Begin pumping and keep the pump head firmly in place to prevent air from escaping. If you hear air escaping, double check that the pump head is securely attached to the valve.
It’s important to note that different valve types may require different pump heads, so make sure you have the correct one for your valve type. With a little bit of practice, attaching your hand pump to the valve will become a quick and easy task.
Pumping the Tire and Checking the Pressure
Inflating your tubeless bike tire is an important aspect of maintaining your bike’s performance and safety. Before inflating your tire, ensure that it is seated properly on the rim so that air does not escape. You can use a tire lever to ensure proper seating.
Next, attach the pump to the valve stem and begin pumping the tire. It’s important to check the pressure with a pressure gauge to ensure that it is at the appropriate level for your bike. The recommended pressure can usually be found on the sidewall of the tire.
Riding with both an overinflated or underinflated tire can lead to decreased performance and safety hazards. It’s crucial to pump your tire regularly and check pressure before each ride, especially if your bike has been stored for a period of time. Tire pressure can fluctuate due to temperature and other factors, so it’s important to keep an eye on it.
Inflating your tubeless bike tire properly is a simple yet key step in ensuring an enjoyable and safe riding experience.
Replacing the Valve Core and Finishing Up
When it comes to inflating a tubeless bike tire with a hand pump, replacing the valve core and finishing up are important final steps. After ensuring that the tire is properly seated, remove the valve core with a valve core remover. This will allow for maximum airflow while inflating the tire.
Once the valve core is removed, attach the pump to the valve and pump incrementally, checking the pressure gauge regularly until the desired pressure is reached. It may take longer to inflate a tubeless tire with a hand pump compared to a compressor, but it is still a feasible option for those without access to one. Once the tire is fully inflated, replace the valve core and use a valve cap to prevent any debris or moisture from entering the valve.
With these steps, inflating a tubeless bike tire with a hand pump can become an easy and efficient process.
Reinserting the Valve Core
After cleaning or replacing the valve core, the next step is to reinsert it. First, thread the valve core back into the valve stem using a valve core tool. Make sure it is screwed tightly and securely to avoid air leaks.
Once that is done, use a valve cap to cover the threads and protect the valve from dust and dirt buildup. It is essential to check your tire’s psi after reattaching the valve core to ensure proper inflation. You can use a tire gauge to check the pressure.
Overinflated or underinflated tires can be dangerous and can lead to uneven tread wear and poor handling. So, make sure you replace or reinsert the valve core correctly and maintain the recommended tire pressure to have a safe and smooth ride.
Checking the Tire Pressure Again
After replacing the valve core, it’s important to double-check the tire pressure to ensure that everything was done correctly. To do this, simply use a tire pressure gauge to measure the pressure in each tire. If the pressure is too high or too low, adjust it accordingly.
It’s important to keep your tires properly inflated for safety and to get the most out of your tires’ lifespan. A good rule of thumb is to check your tire pressure at least once a month. Think of it like checking the oil in your car, a quick and simple task that can save you a lot of trouble down the road.
So, take a few minutes to check your tire pressure and enjoy a safe and smooth ride!
Conclusion
So there you have it – inflating your tubeless bike tire with a hand pump may seem like a daunting task, but with the right technique and a touch of elbow grease, it can be easily accomplished. Whether you’re out on a remote trail or just prefer to go pump-free, mastering this skill is a valuable addition to any cyclist’s arsenal. So go ahead, give it a try – your tire and your quads will thank you!”
FAQs
Can you inflate a tubeless bike tire with a hand pump?
Yes, you can use a hand pump to inflate a tubeless bike tire, but it will require more effort and time than using an air compressor.
What is the recommended pressure range for tubeless bike tires?
The recommended pressure range for tubeless bike tires varies depending on the brand and model of the tire. However, most tubeless tires have a recommended pressure range between 30-60 PSI.
How do you know when a tubeless bike tire is fully inflated?
You can use a tire pressure gauge to check the pressure level of the tire. When the pressure reaches the recommended range, the tire is fully inflated.
Can you use CO2 cartridges to inflate tubeless bike tires?
Yes, CO2 cartridges are a quick and convenient way to inflate tubeless bike tires. However, they can be expensive and may not provide as much pressure as an air compressor.
How often should you check the pressure of your tubeless bike tires?
It’s recommended to check the pressure of your tubeless bike tires before every ride. This ensures that the tires are at the optimal pressure level for performance and safety.
What are the benefits of using tubeless bike tires?
Tubeless bike tires provide an improved ride quality, lower rolling resistance, and fewer punctures since there’s no inner tube to puncture.
How do you fix a flat tire on a tubeless bike tire?
To fix a flat tire on a tubeless bike tire, you need to remove the tire from the rim and patch or replace the tire sealant. Alternatively, you can use a plug kit to fix the puncture without removing the tire from the rim.


